Supplies needed: None.
The mic antenna needs to be connected before carrying out these steps. This should have been done prior to starting on this stage. If the antenna is not connected, follow the steps in stage 2a first.
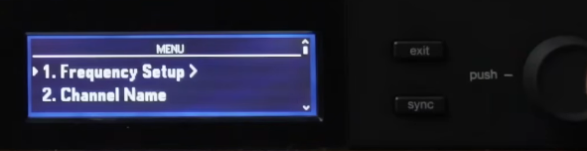
- Pick any receiver and push the knob in to bring up the menu.
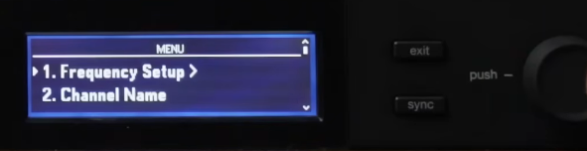
- Press the knob again, selecting the first option, Frequency Setup.
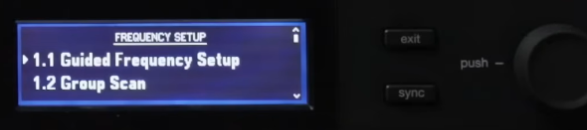
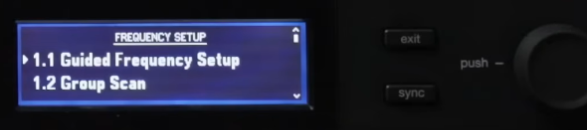
- Press the knob again, selecting the first option, Guided Frequency Setup.
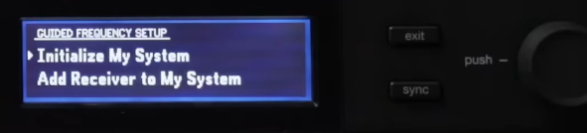
- Press the knob again, selecting the first option, Initialize My System.
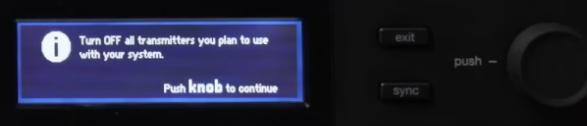
- The receiver will then show a series of prompts. Follow the prompts. The “transmitters” are any wireless microphones - be sure to switch all of them off.
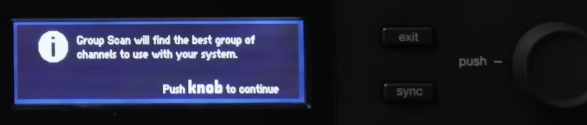

- After the receiver conducts the scan, verify that it reports that there are 6 receivers present. If it does not, check that all receivers are powered on and that the Ethernet icon
 is lit up on the top-right of the receiver’s screen. If it isn’t, use the large rocker switch above the stack of receivers to power cycle the receivers. This should fix any networking issue. Hit ‘exit’ repeatedly to return to the home screen and restart the process if you find or fix any issues.
 - Press the knob to “Assign” the frequencies. All six receiver screens should flash a few times to show that they have received and applied the new settings.
Watch Out for Frequency Conflicts
The type of microphones and microphone receivers that the FIRST Chesapeake microphones use are commonly used for venue sound systems. There is a small possibility that the scan process selects the same frequency for Chesapeake microphones as the venue mic receivers. If this happens, it will appear that the affected microphone cannot be controlled by the sound board (such as excessively loud volume that cannot be lowered). To diagnose this, bring any suspected microphones into the venue’s sound room and watch to see if any of the installed microphone receivers indicate a signal when the Chesapeake microphone is switched on. If any do, the Chesapeake microphone is set to a conflicting frequency with a venue microphone receiver. If a conflict is confirmed, follow the below steps to adjust the frequency on the Chesapeake microphones and receivers. Do not adjust venue equipment to resolve frequency conflicts.
Tap to expand/collapse steps on adjusting frequencies to resolve conflicts.
- On the affected microphone receiver, push the knob in to bring up the menu.
- Press the knob again, selecting the first option, Frequency Setup.
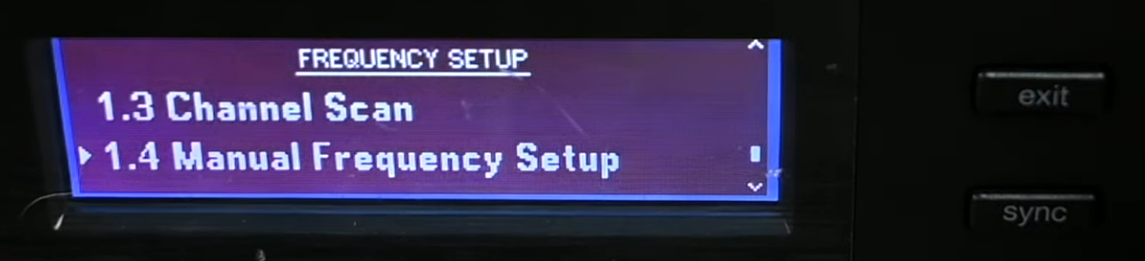
- Turn the knob clockwise until the pointer reaches option 1.4, Manual Frequency Setup, then push to select it.
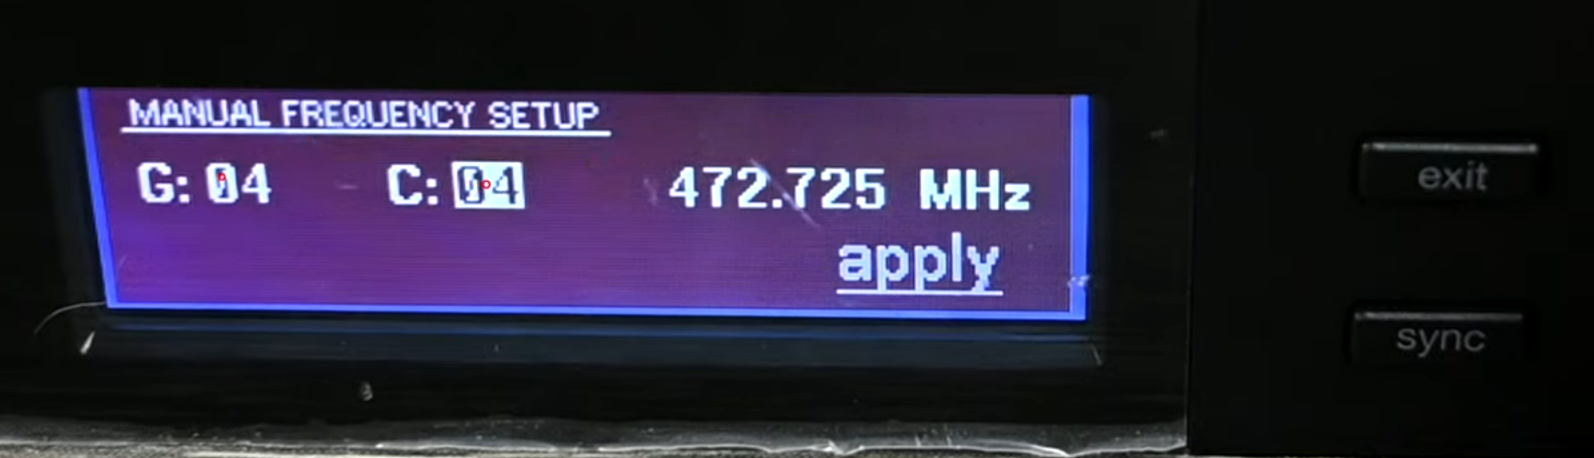
- Turn the knob clockwise to highlight the “C” value (this stands for Channel). Push the knob to select the value for editing, then rotate either direction one or two clicks. When selecting the new C value, look at the other 5 receivers in the rack and verify that the new value does not match any of the values currently in use.
- Press the knob to finish editing the C value, then turn the knob clockwise and press “Apply”.
- Be sure to sync the microphone transmitter once finished adjusting frequencies (stage 2c).
Stage 2b is complete. Proceed to stage 2c.